X2go
Installation and Configuration of x2go Client
1. Download x2go client:
- Windows: http://code.x2go.org/releases/X2GoClient_latest_mswin32-setup.exe
- OSX 10.6-10.8: http://code.x2go.org/releases/X2GoClient_latest_macosx.dmg
- OSX 10.9+: http://code.x2go.org/releases/X2GoClient_latest_macosx_10_9.dmg
OS X Users will need to download and install the X11 libraries from: http://xquartz.macosforge.org/landing/
2. Install x2go client.
3. Configure new x2go session:
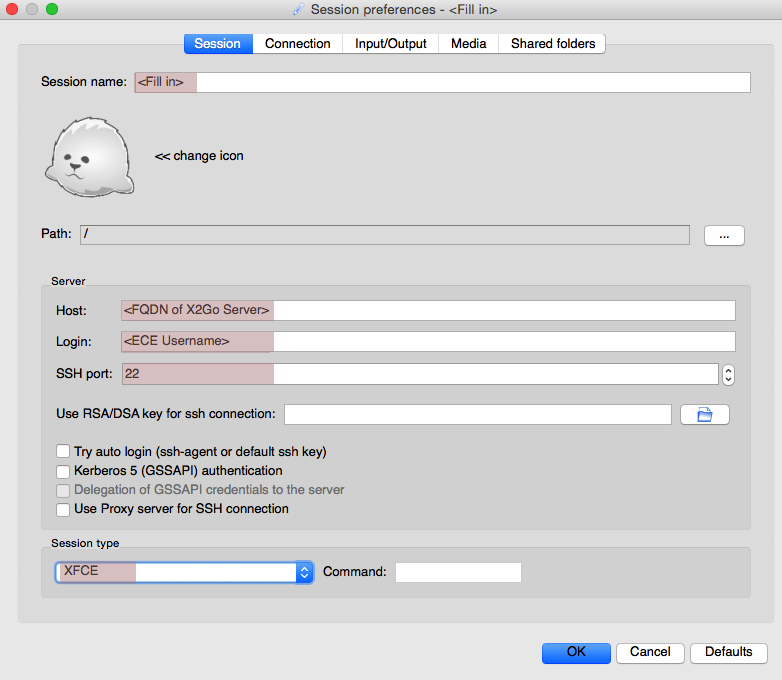
- Server FQDN: ssh-soc.ece.ubc.ca
- Note that at this time, ssh-soc is only accessible when using UBC VPN service. This may change when ECE launches this as a supported service. See the following link for UBC VPN connection instructions.
https://it.ubc.ca/services/email-voice-internet/myvpn
- Session type: XFCE
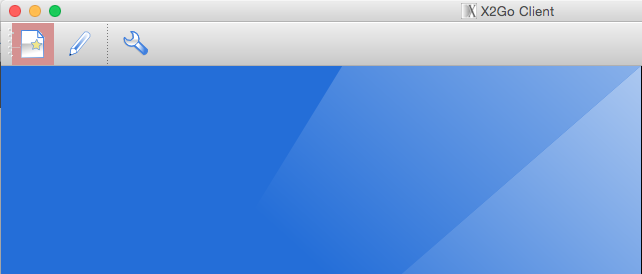
3.1. Create a new session by clicking on the button highlighted in red
3.2. Populate all fields highlighted in red
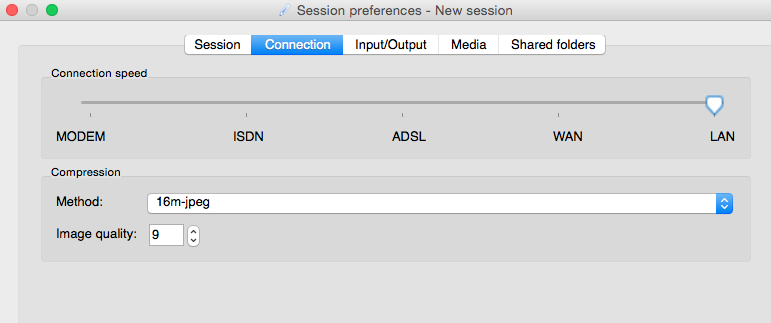
3.3. You may want to play around with the connection settings to optimize user experience.
With the right connection settings, the experience of using a streaming video service like Youtube over x2go should be fairly identical to a local browser. In most situations, setting this to LAN provides a decent experience but obviously this highly depends on the available network throughput of your network connection.
Note that audio doesn’t work correctly with OS X clients.
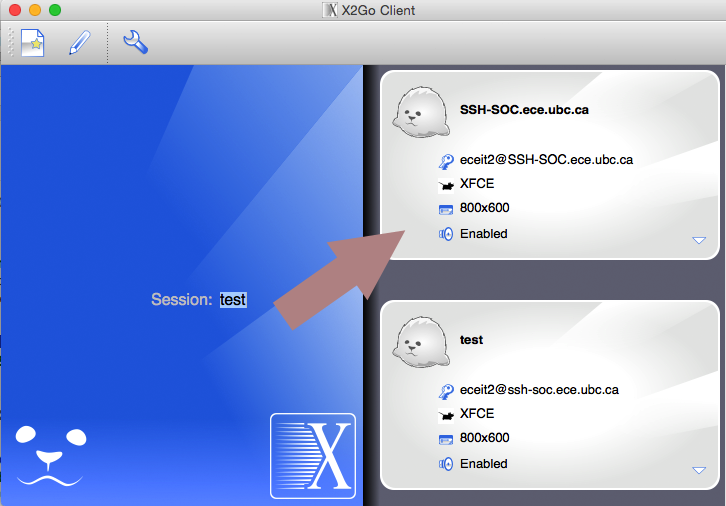
4. Once configured, start a new x2go session by clicking on the session browser on the right.
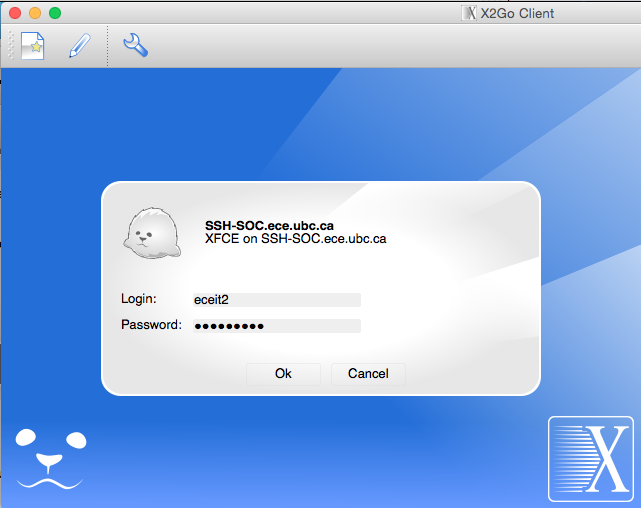
4.1. Login with your ECE credentials
Result:
This technology behaves very similarly to Microsoft’s RDP/terminal services. By disconnecting your client, your session is still active on the server and you can resume the session by reconnecting to this service using the x2go client. —
Ying
